We’ll get you familiar with the tools for your Apple smart home
If you’re not already using scenes and routines, are you really living in a smart home? All of the major platforms, including Alexa and Google Assistant, support them, as does Apple HomeKit.
Specifically, Apple has “automations” and scenes, but automations are really just routines as you probably already know them. And the good news is that creating both is super easy. The hard part is applying your imagination and coming up with interesting ways of using them.
Whether it’s having your lights turn on when the sun goes down, or having Siri lock the doors and power down the house at bedtime, you can make it happen with HomeKit’s automations and scenes. In this guide we’ll walk you through setting them up, but first, a little on what you need.
How to automate with: Alexa Routines | Google Assistant Routines
- An Apple TV, HomePod or HomePod mini
- The Home app
- An iPhone, iPad or Apple Watch
- Make sure your HomeKit hub is set up.
- Open the Home app on your iPhone or iPad.
- Tap on ‘Create New Automation‘.
- Follow the on screen instructions.
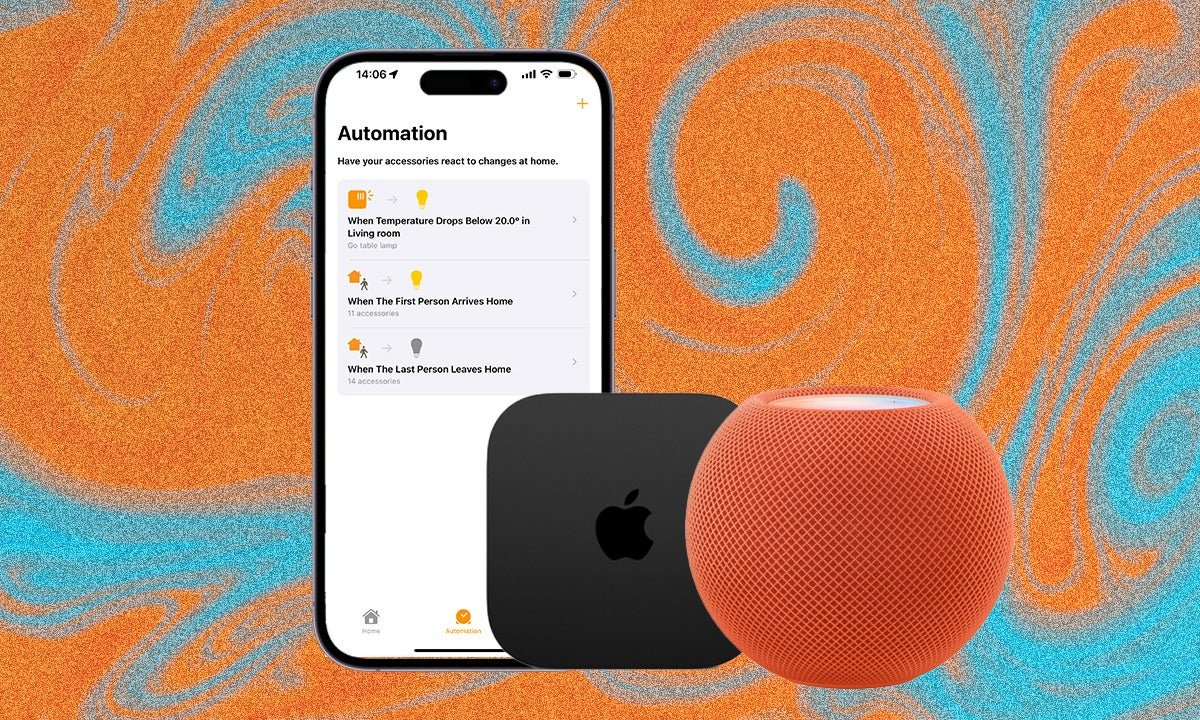
To create HomeKit automations, you first need a HomeKit hub. This can be a HomePod or HomePod mini or an Apple TV. You used to be able to use an iPad but that’s no longer possible and an iPhone won’t work either, though you can of course use either of these devices, as well as an Apple Watch to control your HomeKit-compatible devices through the Home app when you’re all set up.
Once your HomeKit hub is set up, as long as your iPhone, iPad or Watch has a data connection, you can send an action through the Home app and your hub will pick it up over the internet, giving you remote control. You can read our full guide on how to set up a HomeKit hub, so we won’t go too deep on it here, but it’s pretty easy to do so don’t worry.
To give you an idea of what you can do before we go deep on how you create HomeKit automations and how you create HomeKit scenes a bit further down, Scenes let you create many actions across your home at once, while automations involve events or actions triggering other actions. For example, you could create an automation where unlocking the front door turns on your hallway lights and adjusts the thermostat. A Scene meanwhile, might turn all of the smart lights in your home red at the same time.
The other automation “types” follow a similar procedure. For a time-of-day automation, you can select not only the time but also the days of the week you’d like it to occur. So you could trigger a scene at 4pm every Tuesday, if you like.
For accessory automations, you can create a chain where turning on one device will trigger a bunch of others. We’ve previously built one where turning off our bedroom light after 10pm will turn on a fan during the summer months, but we also don’t want it turning on earlier in the day when we’re not actually in bed.
Scenes are simply scenarios where you’re adjusting the state of multiple devices at once. That might be a morning scene where your bedroom and hallway lights turn on, the thermostat cranks up the heating and your smart shades go up – all in one fell swoop. Or maybe a movie scene that dims the lights, but only those in the living room. Scenes can be triggered by you asking Siri (see below), tapping the scene on your iPhone or Watch, or through an automation.
To create a scene, open the Home app and from the overview page, tap the ‘+’ icon at the top right. Then tap ‘Add Scene’.
Apple will give you some suggestions here, like a good morning scene or a scene for when you leave the house. These aren’t just suggested names either, as if you select one you’ll see it’s created a full scene based on your devices. But you don’t have to go with these: below you’ll see a button called ‘Custom’, which lets you build a scene from scratch.
If you go with ‘Custom’, first you need to create a name for your scene. Keep it simple and sensible, especially if you’re going to make a lot of scenes, else you’ll risk confusing yourself down the line. We’re going to make one called “Back From Work.” Pretty self-explanatory.
Once named, your scene needs some accessories – so tap ‘Add Accessories’ button below. You’ll see a list of all your HomeKit devices that are currently connected. Choose the ones you want to control in the scene, then tap ‘Done‘. On the next page you can set the specifics of how you want each accessory to behave. We want our living room lights to come on, but not all the way, so we can press on each individual bulb and set them to 70%.
You’ll also see a toggle for ‘Add to Home View’. If you toggle this on, the scene you create will appear on the main dashboard when you open the Home app, making them easier to access if you don’t use Siri or an automation to trigger them.
As well as controlling your scenes through the Home app or triggering them with automations, you can get Siri to do it without lifting a finger. Siri will recognise the names of your scenes (again, why it’s important to name them sensibly). You can simply say, “Hey Siri, start my Back from Work scene” to trigger it.
Check out our full guide on essential Siri commands for controlling HomeKit devices.


